Learning Goals
Learning Goals:
- Students will demonstrate energy transfer through space using
electromagnetic phenomena. - Students will design a model that demonstrates that a current-carrying wire can induce magnetism.
- Students will define and build an electromagnet.
- Students will demonstrate electromagnetic induction.
Materials List
Handouts
- Student Science Journals
- How Electromagnets Work Article and Questions (in appendix)
- The Sticking Power of Electromagnets Article and Questions (in appendix)
Classroom Supplies
- Scissors
- Transparent tape
- Safety goggles
Group Supplies (3-4 per group)
Magnetism Produced by an Electric Current
- 25cm Magnet wire
- 2 Alligator clip test leads
- 1 Foam cup
- 1 3x5in Index card
- 1 9-Volt Battery
- 1 Rare earth magnet
- 1 Piece of sandpaper
Building an Electromagnet
- 50cm Magnet wire
- 2 Alligator clip test leads
- 1 Iron nail
- 1 Piece of sandpaper
- 1 Compass
- 1 9-Volt Battery
- 10 Steel paper clips
Demonstrating Electromagnetic Induction
- 180cm Magnet wire
- 2 Alligator clip test leads
- 1 5 1/4in Soda bottle preform
- 1 60mL Plastic jar
- 1 Piece of sandpaper
- 1 Rare earth magnet
- 1 Compass
Important Links
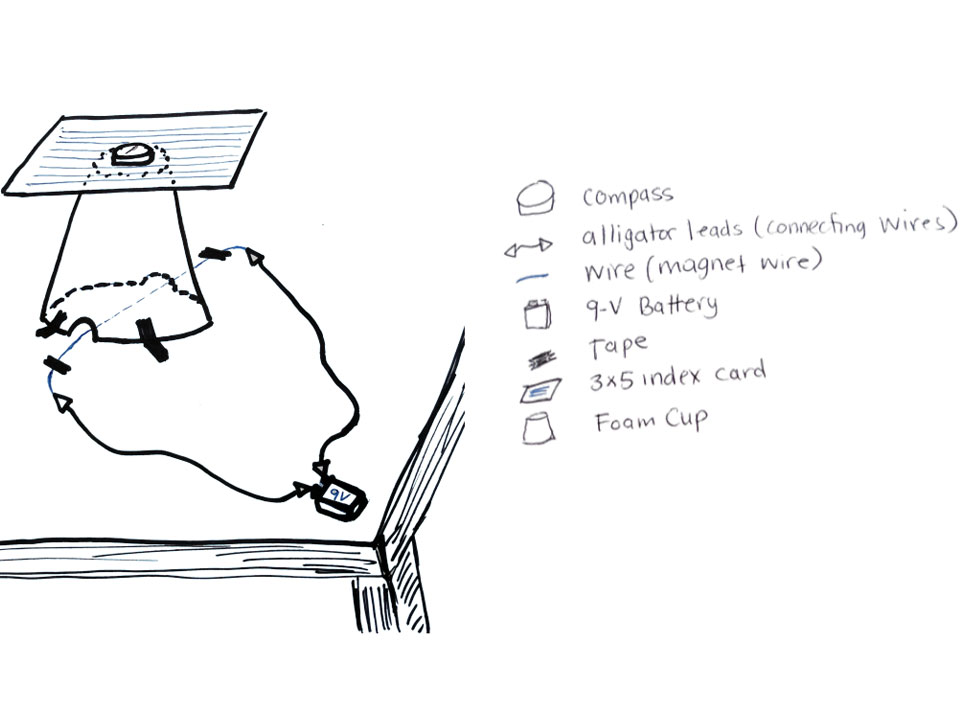
Featured Image Description
Hand sketched diagram of a wave attenuator experiment. On the right is a list of all the items: Compass, alligator leads (connecting wires), wire (magnet wire), 9-V Battery, Tape, 3×5 index card, Foam Cup. On the left is a sketch of the layout of the items placed in the corner of a table. At the top is the compass set on the index card which is on top of the foam cup. Under the foam cup is the wire. Connected to either end of the wire is an alligator lead. Both leads connect to a 9 Volt battery in the corner of the table just above the table leg.

